
How to Replace the Bearing and Oil Seal of Clay 3D Printer Extruder
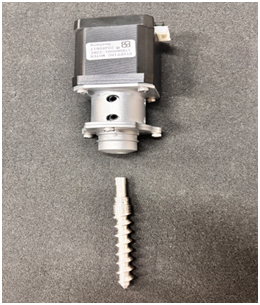
- Pre-operation Preparation: First, power off the clay 3D printer and ensure the device is completely shut down, then unscrew the fixing screws on both sides of the extruder. (P-12)
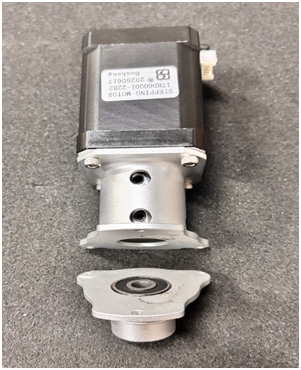
- Hold the main motor part with one hand, pull it upward steadily to separate the motor from the extruder body, and place it on a stable surface for later use. (P-13 P-14)
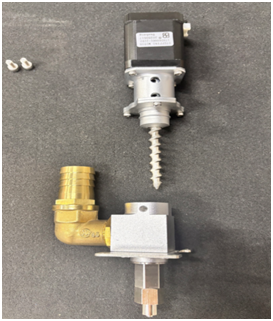
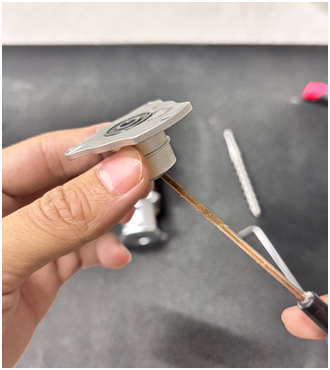
- Rotate the screw rod inside the extruder slowly to fully expose the set screw on the coupling; use a screwdriver of the corresponding specification to loosen the set screw (i.e., the black screw indicated by the arrow in the figure), then the screw rod can be pulled out from the extruder. (P-15 P-16)
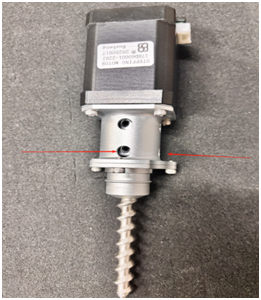
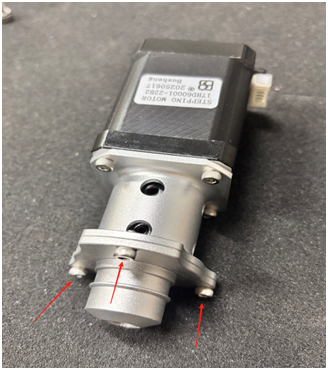
- Locate the three fixing screws at the position shown in the figure, unscrew them one by one and store them properly to avoid loss. (P-17 P-18)
- Press a flathead screwdriver against the edge of the bearing, gently push to eject the old bearing from the extruder cavity; then remove the aged oil seal. (P-19)
- Install New Parts: First, fit the new oil seal into the corresponding slot of the cavity to ensure a tight fit without deviation; evenly apply a layer of high-temperature resistant lubricating oil to the contact surface between the new bearing and the oil seal, then press the bearing firmly into the cavity to ensure it is properly seated. (P-20)
- Reinstall the screw rod, coupling and motor in reverse order of disassembly, tighten the screws at all parts, and complete the replacement.
- Warm Reminder
- Avoid using excessive force during disassembly and installation to prevent damage to precision components such as the screw rod and cavity.
- It is recommended to use high-temperature resistant lubricating oil specially designed for 3D printers, avoiding the deterioration of ordinary lubricating oil at high temperatures.
- After installation, test the motor with idle rotation to confirm there is no jamming or abnormal noise before loading clay for printing.
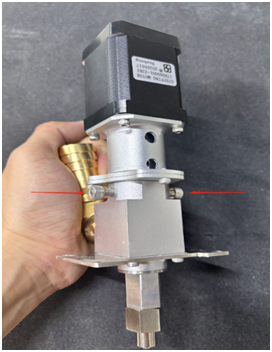
P-12
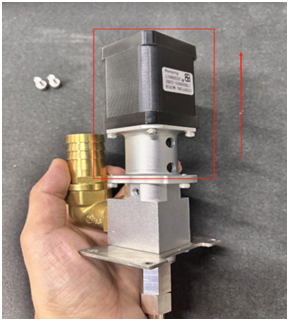
P-13
P-14
P-15
P-17
P-18
P-19
