How to Replace the Clay 3D Printer Extruder Motor
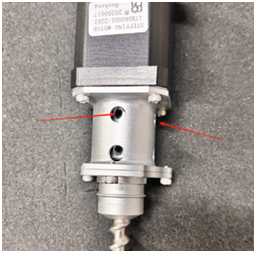
- First, remove the extruder from the clay 3D printer, then unscrew the fixing screws on both sides. (P-1)
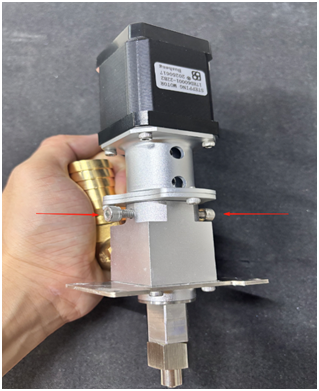
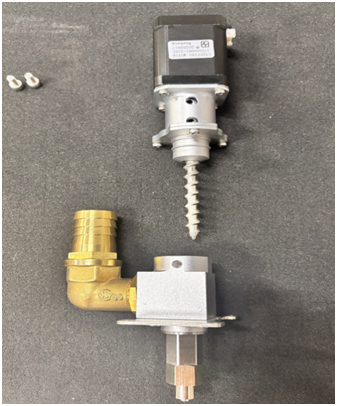
- Hold the motor part with one hand and pull it upward to take it out. (P-2 P-3)
- Next, unscrew the four fixing screws located under the motor. (P-4)
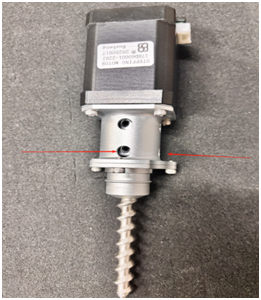
- Loosen the fixing screw connecting the motor and the coupling (refer to the black screw indicated by the arrow in the figure). (P-5)
- After removing the old motor, replace it with a new one and reinstall the new motor by reversing the disassembly steps. (P-6)
- Warm Reminder
- Ensure the printer is completely powered off before any operation to avoid electrical hazards.
- Keep all removed screws in a safe container to prevent loss during reassembly.
- After reinstallation, run a test extrusion without clay to check if the motor operates smoothly and the extruder works normally.
P-1

P-2
P-3
P-4