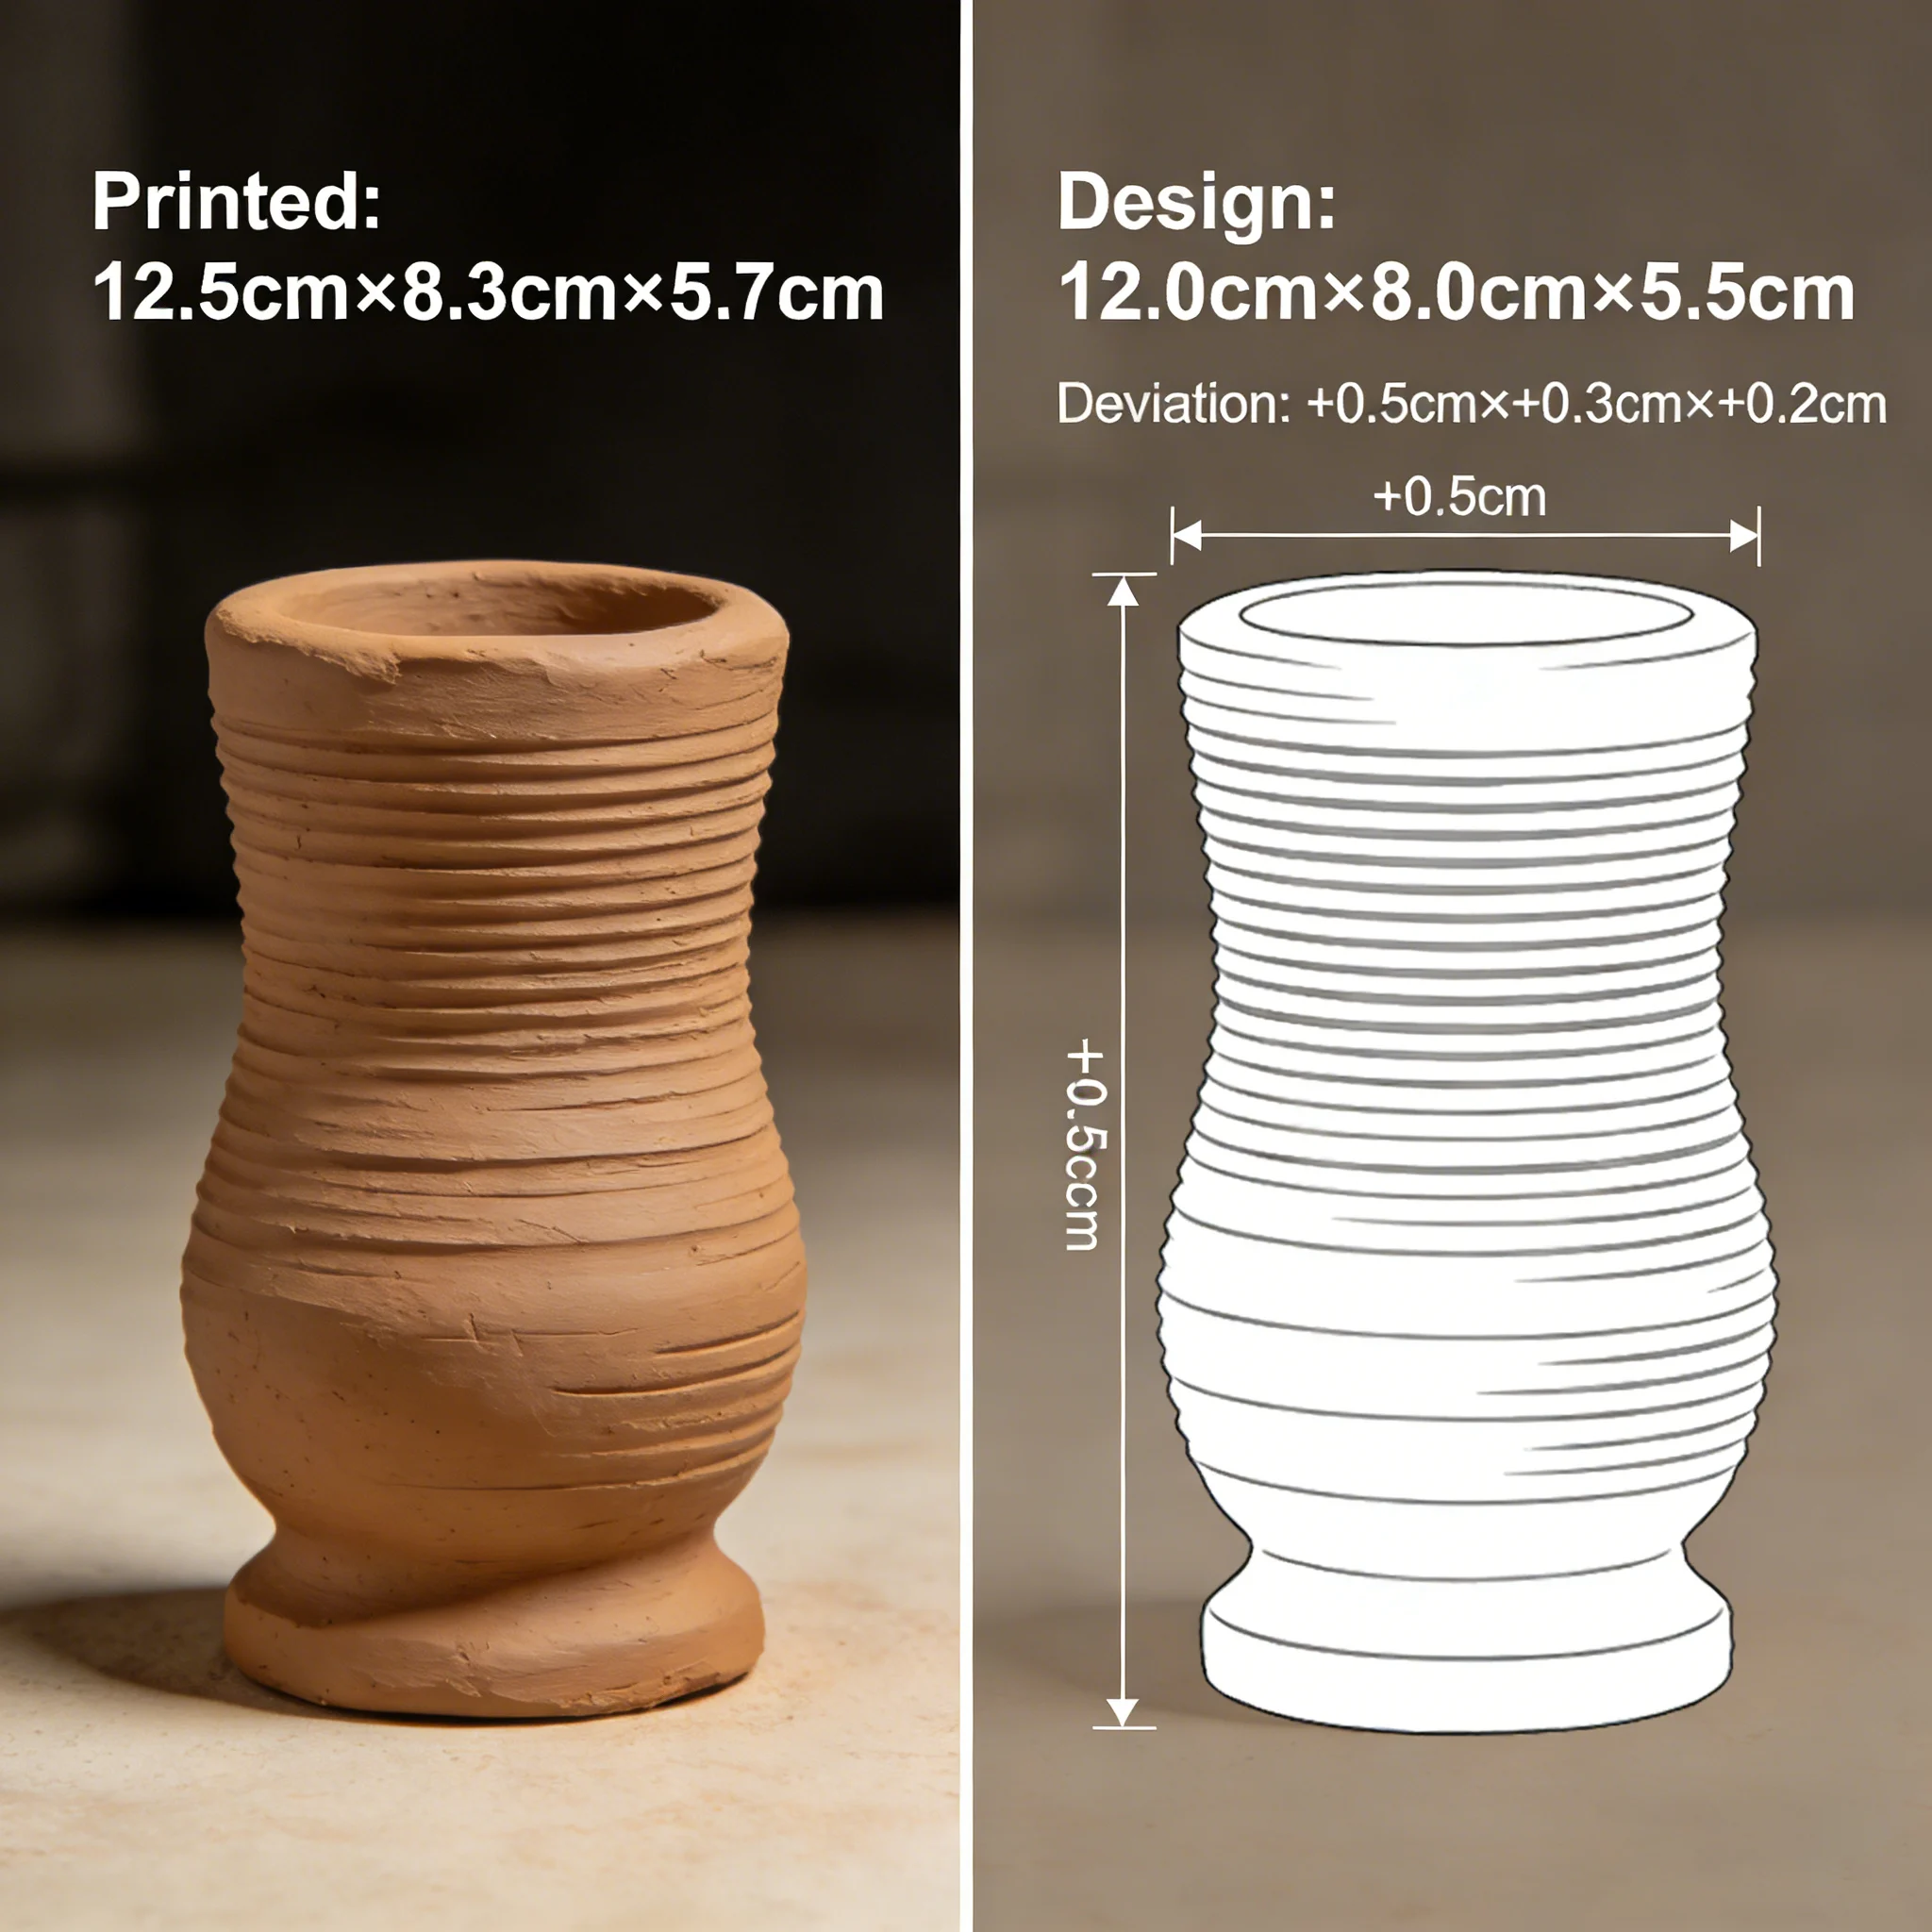
Clay Printer / Large Dimensional Deviation
How to calibrate large dimensional deviations in clay 3D printed parts?
First level the platform (error ≤0.1mm), print a 100mm standard cube and measure actual dimensions. Fine-tune X/Y/Z axis pulse parameters via slicing software (e.g., increase by 2% if actual size is 98mm). Confirm the nozzle diameter setting in the software matches the actual one (common 1.5mm), then print a test piece to verify after calibration.
Important: Always start with a perfectly leveled bed and correct nozzle diameter setting in the slicer. Most large dimensional errors come from incorrect steps/mm values or platform tilt rather than material issues.
P-3
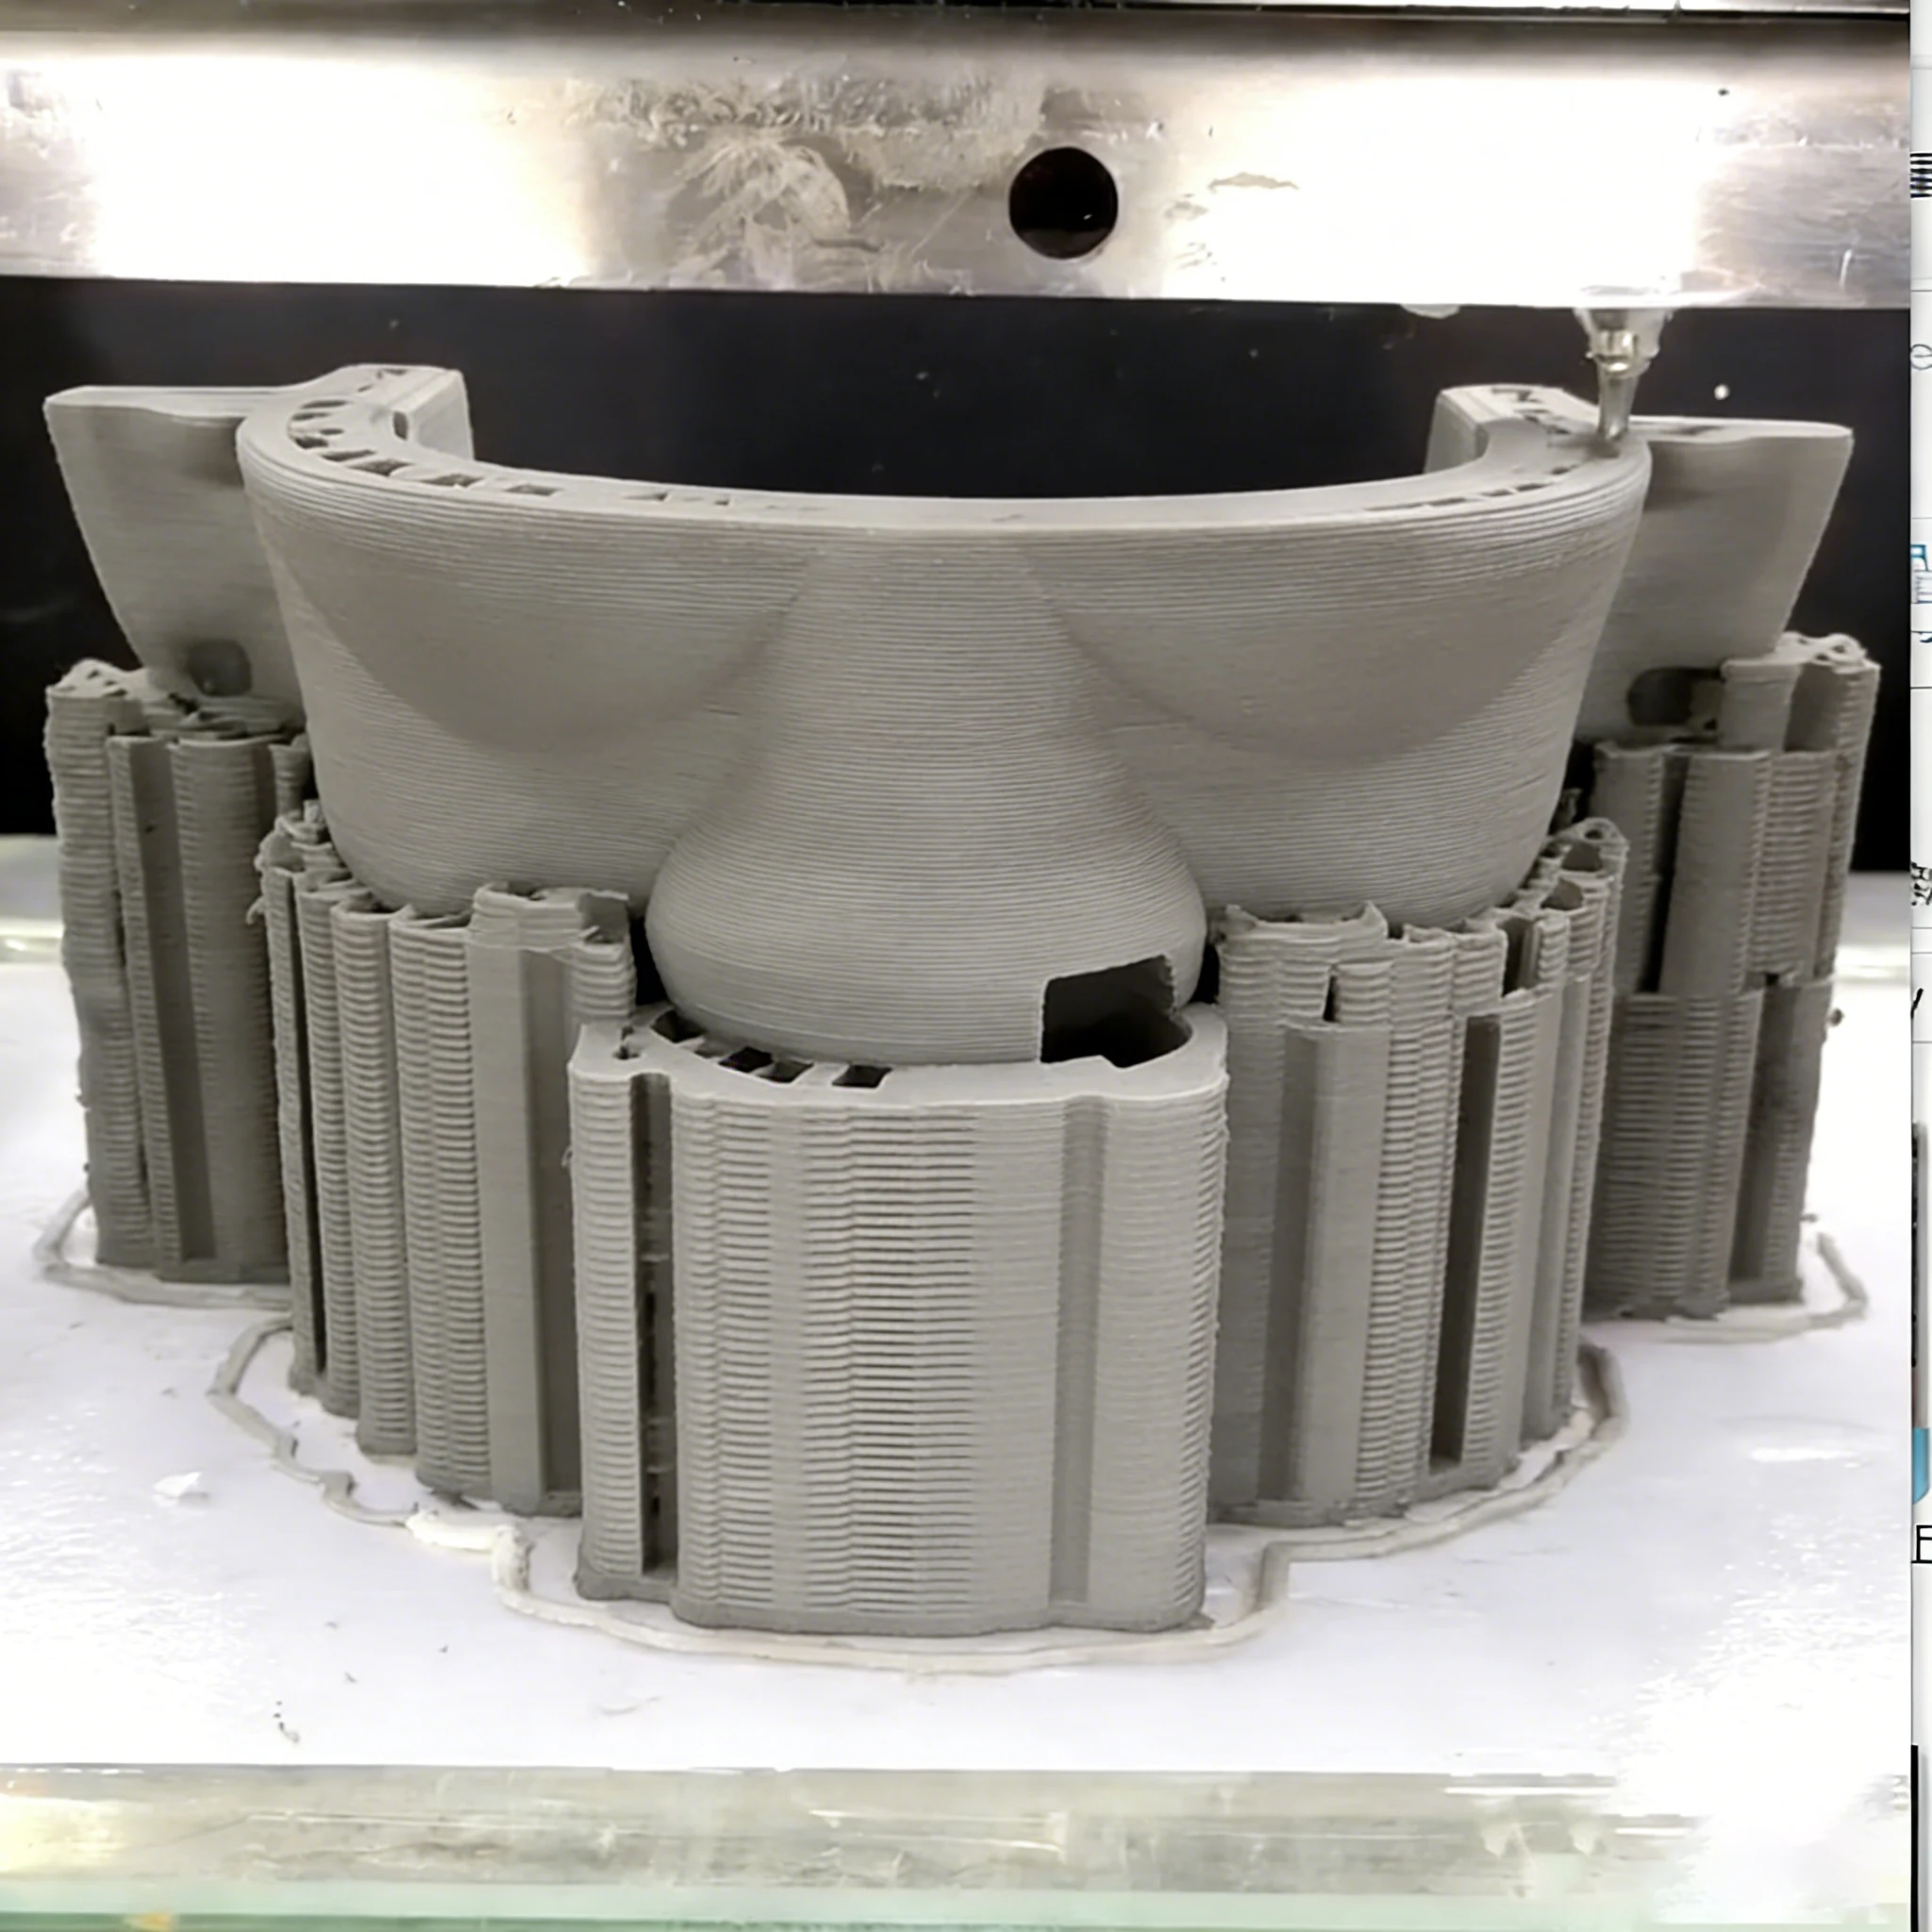
Clay Printer / Uneven Extrusion & Material Interruption
What to do if clay extrusion is uneven or interrupted during printing?
Knead and sieve clay to remove agglomerates, then clean residual hard lumps at the hopper discharge port. Adjust extrusion pressure to 0.3-0.4MPa and check the feeding mechanism belt for tightness. If interruption persists, reduce printing speed to match the feeding rhythm.
Important: Uneven extrusion is often caused by inconsistent clay consistency, air pockets, or insufficient feeding pressure. Always ensure the clay is well-kneaded and free of lumps before long prints.